How to Troubleshoot a WordPress Plugin Conflict Safely
A page breaks just after an update. It is tempting to deactivate every plugin until the site looks normal, but that can disrupt checkout, forms, caching or security features for visitors. A better diagnosis starts by recording the failure, reproducing it, and using a test environment that limits the impact.

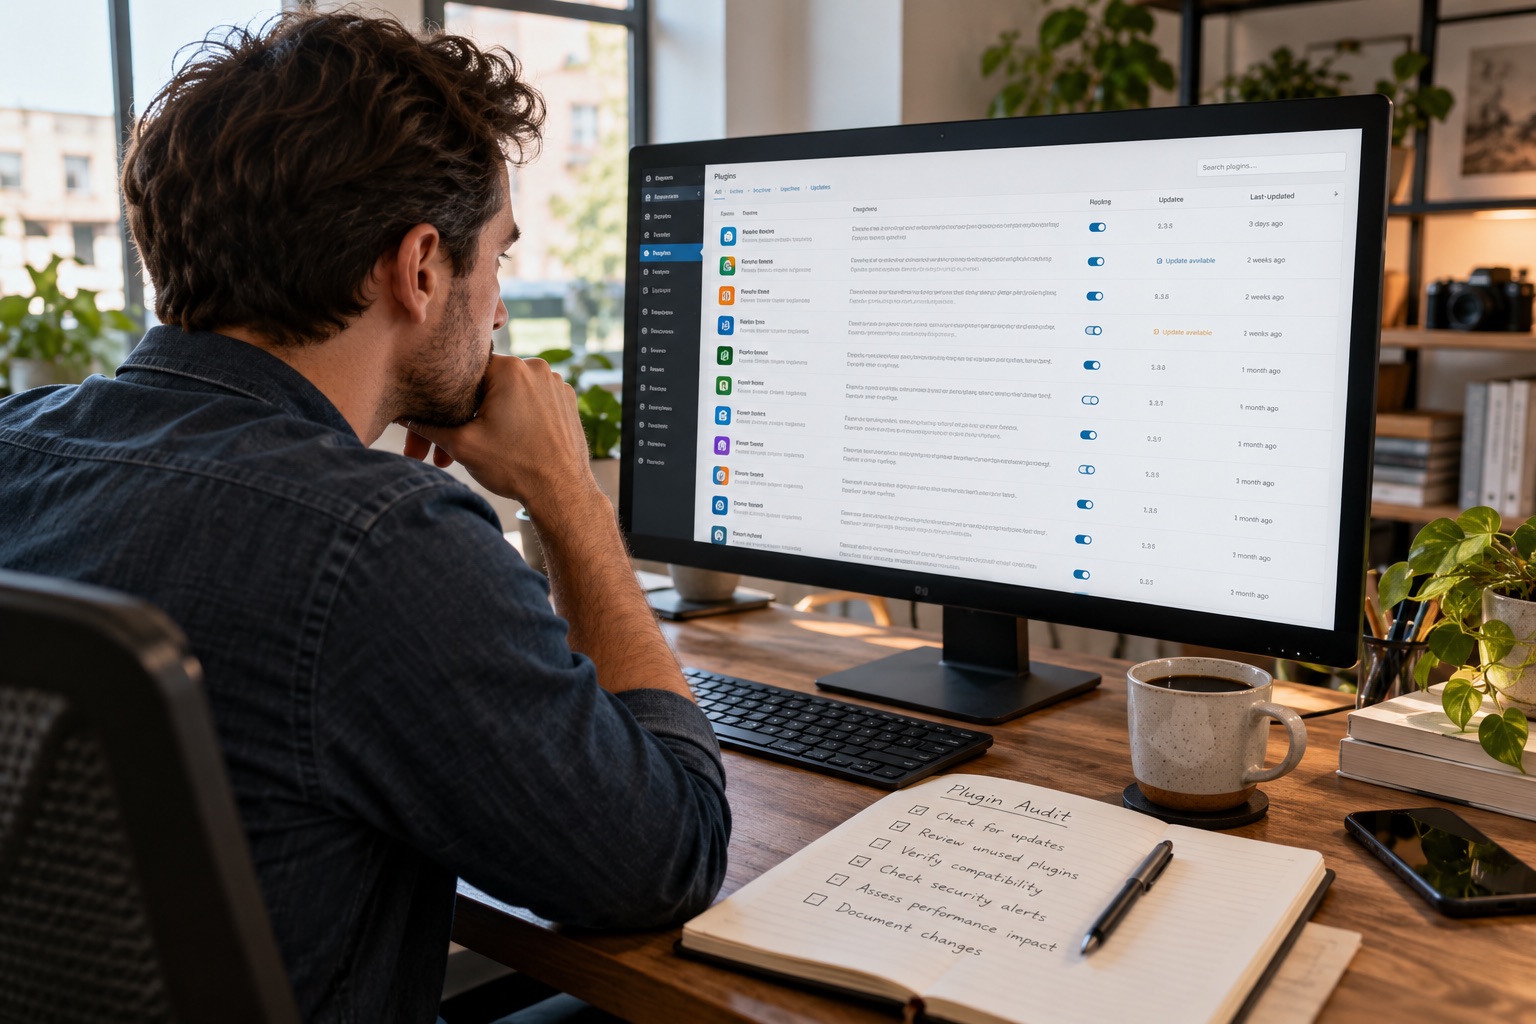
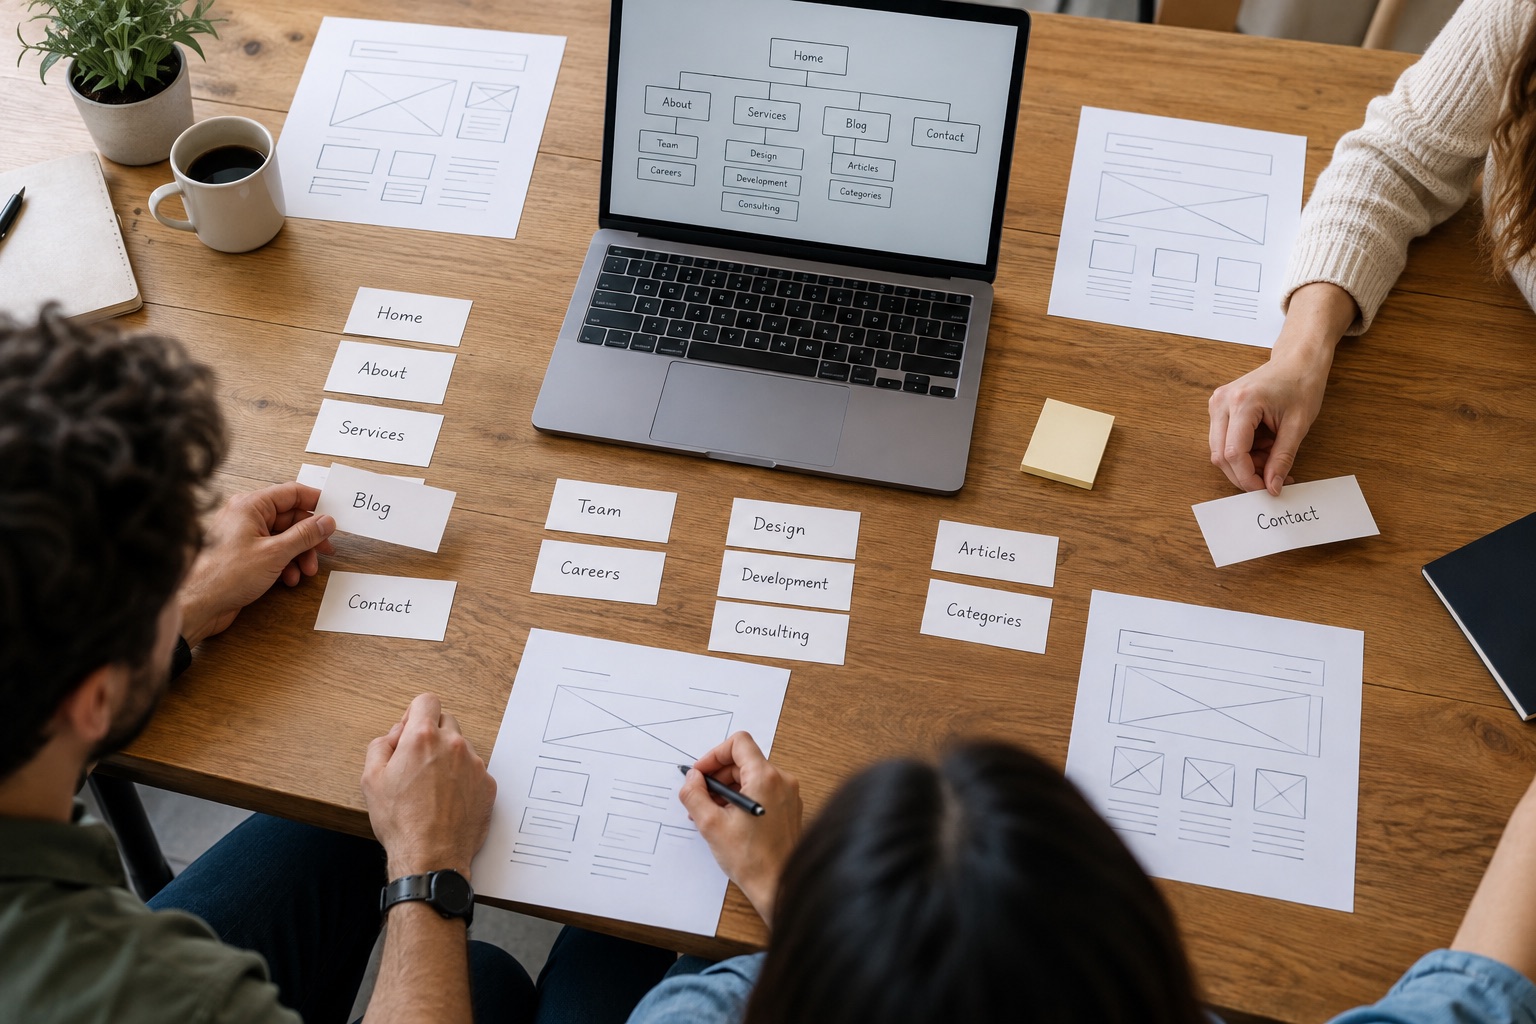
Editorial illustration: reproduce the error, isolate one change, then confirm the fix.
Summary
- Record the exact failing action and recent changes before changing plugins.
- Use a staging copy or WordPress Troubleshooting Mode to isolate plugins and themes.
- Change one variable at a time, then verify the fix with the affected feature and a rollback plan.
Start with the symptom
Write down the URL, account role, browser, time, and steps that trigger the issue. “The page is broken” is hard to test; “a logged-in editor gets a blank screen after saving this page” gives you a repeatable case. Check whether the error affects everyone or only one browser/session.
If you can, compare the page with a second account and device. A cached page, an expired login or a browser extension can imitate a site-wide failure. Note the last plugin, theme, core, PHP or hosting change, but treat it as a lead rather than proof.
Before editing the live site, make a current backup and confirm how you would restore it. For a business-critical site, use staging first. A backup that has never been restored is an assumption, not a rollback plan; see how to rehearse a WordPress restore.
Option A: use a staging copy
A staging site is the best choice when the fault affects visitors, payments, publishing or logged-in users. Create a copy using your host’s supported workflow, protect it from public access and avoid sending real customer email or payment requests from the test copy. Check that the copy uses comparable PHP and plugin versions; otherwise the result may not match production.
Reproduce the exact failing action. If it fails in staging, disable or switch one component at a time. Start with the component most closely connected to the feature, but do not assume the newest plugin is guilty. A conflict can involve two plugins or a plugin and the theme.
After each change, repeat the same steps and record the result. If the problem disappears when one component is disabled, re-enable it and test the same action again. That second check helps distinguish a real relationship from a temporary cache or network issue.
Option B: troubleshoot your own session
For a lower-risk issue, WordPress.org’s Troubleshooting plugin provides a mode that disables plugins and switches to a default theme for your logged-in session. The support handbook explains that visitors continue to see the site with its normal plugins and theme during this per-user diagnostic mode. Check current plugin instructions and your hosting setup before using it.
Once enabled, reproduce the issue in the same browser session. If it is gone, enable the original theme and plugins one at a time, repeating the exact action after each. When the failure returns, note which component you just enabled and test that component again by disabling it. If the problem remains with all plugins off and a default theme, investigate core, server configuration, browser behavior or external services instead of continuing to toggle plugins.
Troubleshooting mode is not a substitute for staging in every case. Some errors depend on scheduled jobs, webhooks, other users’ sessions, payment callbacks or server-wide cache. A private session may not reproduce those paths. Do not use it to test real transactions or change production content while the site’s behavior is uncertain.
Narrow down the cause without guessing
Use this sequence:
- Capture the baseline. Save the exact steps and a screenshot or error text. Check Site Health and the server’s PHP/error log if available; remove secrets before sharing logs.
- Reproduce with the same conditions. Same user role, page, browser and action. Clear only relevant caches after recording the original behavior.
- Test the theme. Switch to a current default theme in staging or troubleshooting mode. If the problem disappears, inspect theme templates, custom code and theme-specific integrations.
- Test plugins one at a time. Re-enable the minimum needed to run the feature, then add the others back individually. If two plugins are implicated, test the pair together and separately.
- Check versions and prerequisites. Compare the plugin’s documented WordPress/PHP requirements and the site’s actual versions. Do not update PHP or several plugins at once during diagnosis.
- Confirm twice. Reproduce the error, change one thing, then run the original steps again. A single successful refresh is weak evidence.
Avoid leaving debug output displayed publicly. WordPress Site Health guidance warns that debug information may contain sensitive data. Keep diagnostics private and turn off temporary logging when you finish.
Choose a fix and verify it
If a supported update fixes the issue, test it on staging and check the affected feature beyond the original page. If the newest release introduced the problem, check the plugin’s official changelog and support channel; rolling back can be a temporary containment step, but do not leave a vulnerable or incompatible version in place without an explicit plan.
If the plugin is essential and the conflict is reproducible, send its maintainers a concise report: versions, exact steps, expected and actual result, relevant sanitized logs, and which theme/plugins you tested. If it is optional and no fix is available, remove it only after checking whether it stores settings or content that another feature relies on.
On production, choose a quiet window for changes that affect checkout or forms. Verify both the failing path and a normal visitor path, then watch logs and support reports. Keep the previous known-good package or host snapshot available until the site has passed those checks.
Mistakes that waste time
- Deactivating everything on a busy live site. It may hide the cause while breaking unrelated features.
- Changing multiple versions together. You lose the evidence about which change mattered.
- Testing only as an administrator. Permissions and caching can make the visitor experience different.
- Treating a plugin’s proximity as proof. Reproduce the issue after disabling and re-enabling it.
- Posting raw logs publicly. Logs can include paths, addresses, tokens or other sensitive details.
Bottom Line
Make the failure repeatable, then isolate one variable at a time. Use staging when users or transactions could be affected; use session-based troubleshooting mode for problems it can reproduce safely. Keep a record of each test and verify the chosen fix on the exact path that originally failed.
My Take
The fastest useful diagnosis is the one that preserves evidence. A short test log—what changed, what you tried, what happened—often saves more time than rapidly toggling every plugin and trying to remember the sequence later.
Sources
- WordPress.org: Troubleshooting using Health Check
- WordPress.org: Site Health screen
- WordPress.org: Troubleshooting plugin